Week 55 brings some focus into the layout.
The next couple of weeks we'll be concentrating solely on wiring the layout.
This week we'll be soldering feeders to the rails (Phase 1).
Next week we'll do more of the same - concentrating mostly on the mainlines.
After we finish connecting the feeders to the rails, we'll begin attaching the other end of the feeders to the bus line using suitcase connectors (Phase 2).
Phase 3 will be testing Phase 1 and Phase 2 for any gaps in the mainline wire feeds.
More to come...
Here are some pics of phase 1 of wiring our layout...
Wednesday, July 29, 2015
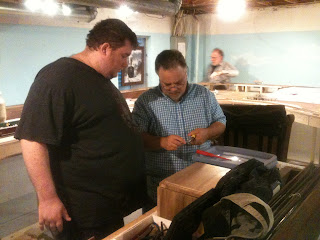
Carlos Baez getting the solder gun and solder ready for affixing the wire to the rail.
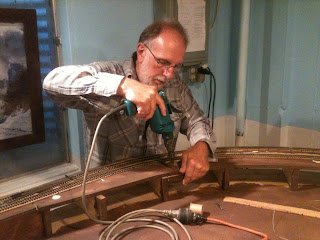
Ed Nelson working on the feeder wires.
We used 24Guage wire and plan to have less than 12" runs.
We will connect orange feeder to red bus and white feeder to black bus wires.
Dean Hatzis and Ed separating the 2W 24G wires.
Carlos used fine course sandpaper to smooth out any rough edges caused by the soldering.
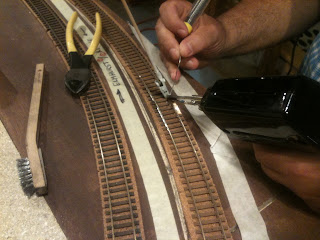
If you look closely you can see the feeder wires coming up through small holes I drilled on the outer side of each rail.
Inside rail is for the orange feeder wire.
Outside rail is for the white feeder wire.
After Dean & Ed separated the two wires (orange and white), Dean came between Carlos and Curt to began to snip the plastic off of the wire end exposing the copper inside.
Ed went back to trouble shooting the switch he worked on last week.
Still making the connection secure by filing down excess solder.
Carlos in action.
Here he attaches the wire to the rail using an alligator clip.
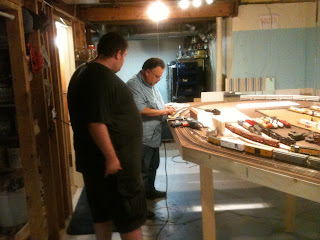
Dean making his way around the South Power District.
Ed making sure everyone stays on task.
I like the view of the mainline crossover and the Intermodal yard lead ladder.
You can also see all those feeder wires waving in the breeze.
Good work tonight, men, good work!


